
















How to Cut Oak Sleepers? A Professional Guide

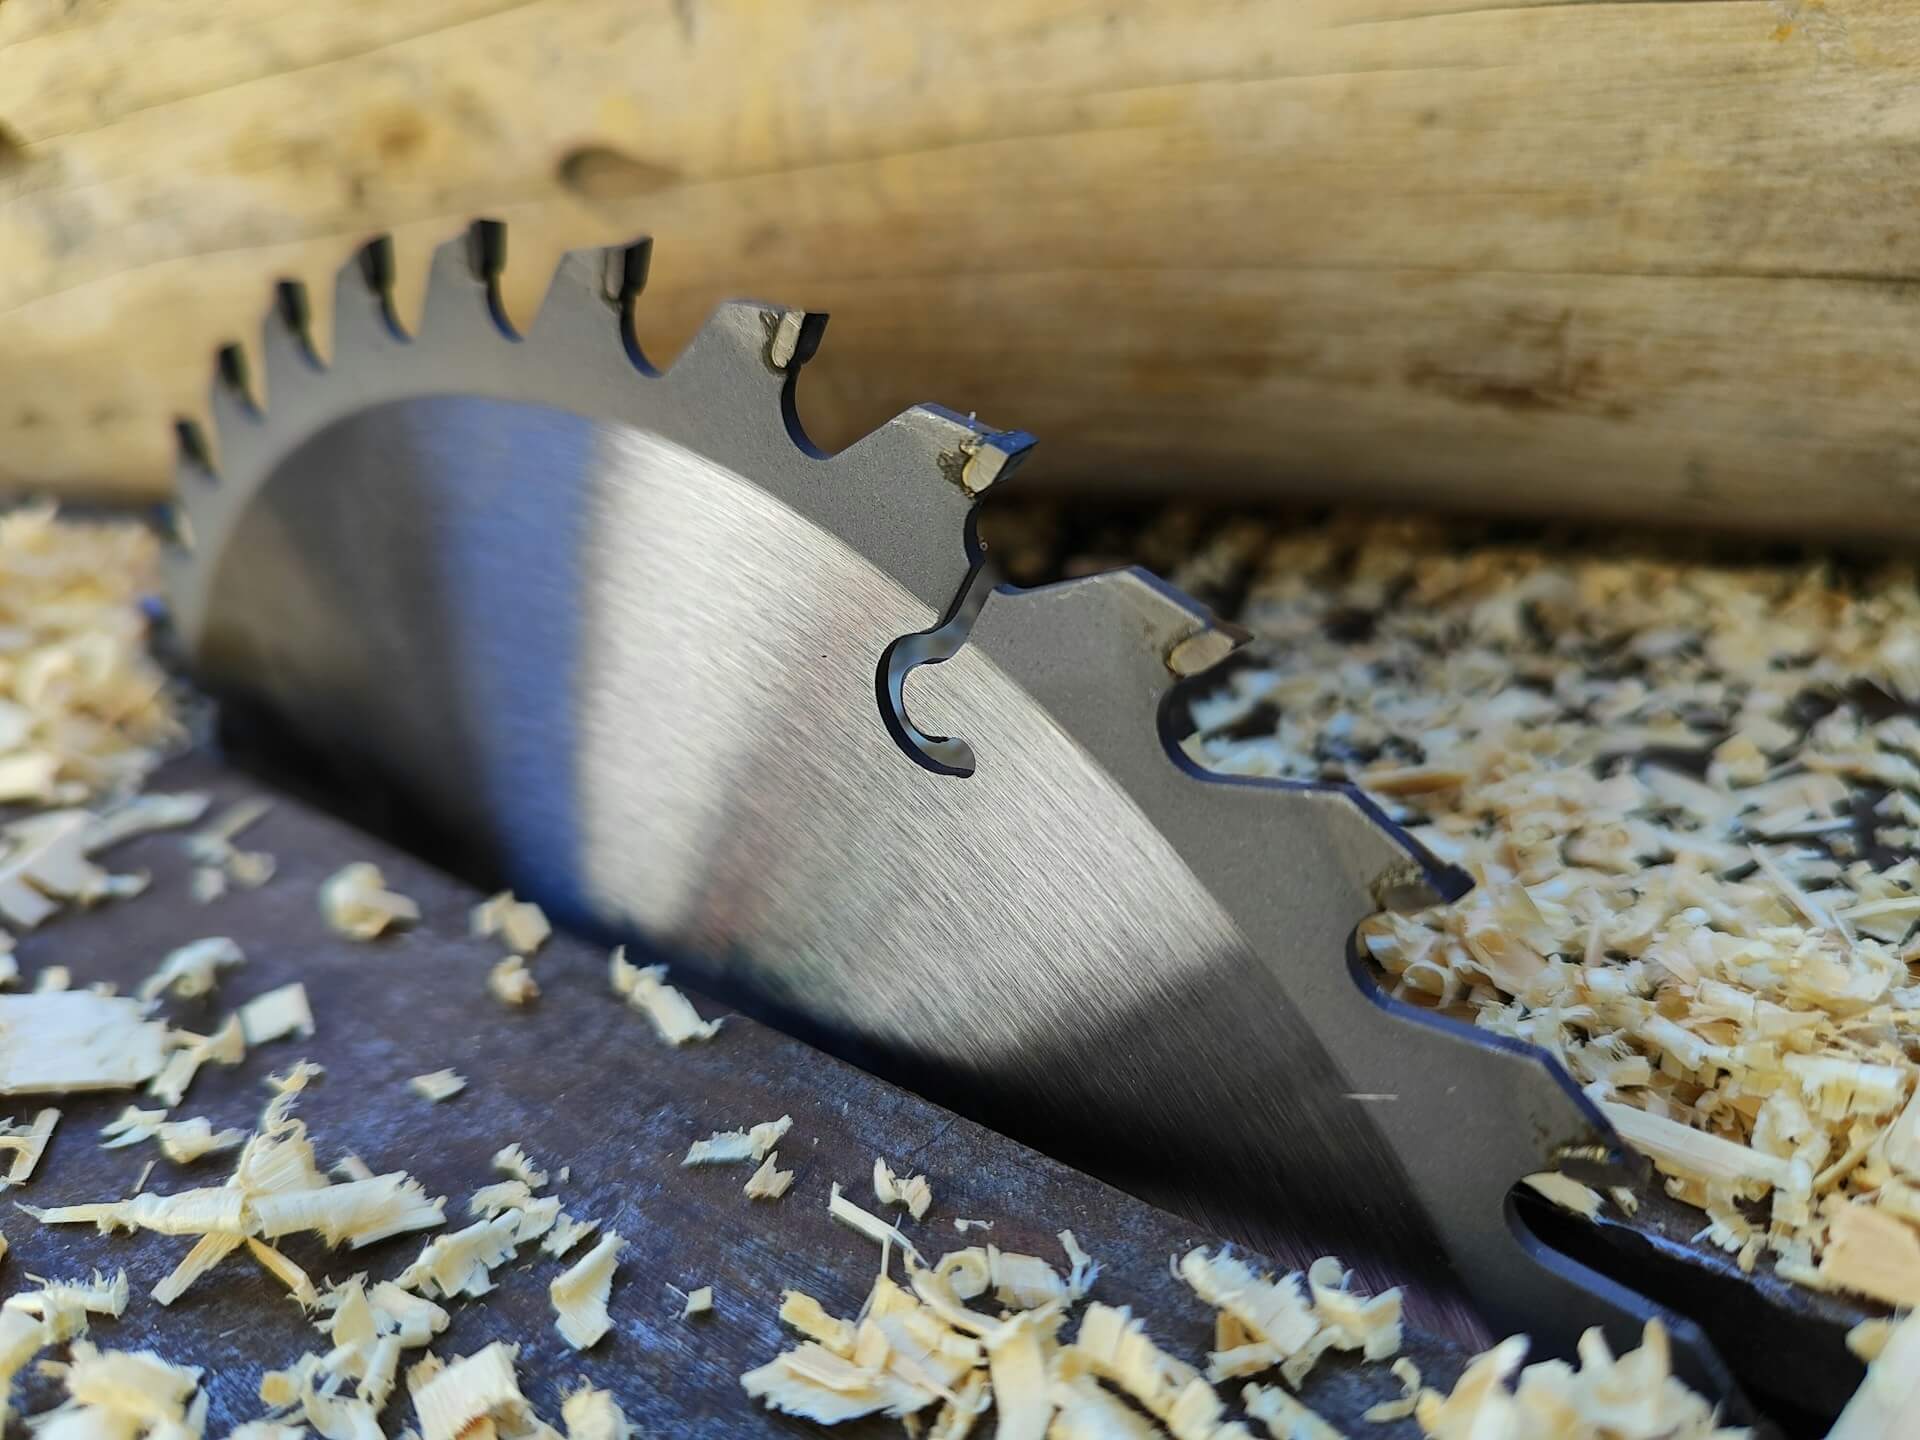
To cut a sleeper, mark a straight line across all faces with a straight piece of timber or offcut as a guide, clamp the timber to a stable surface, then work along the line with a circular saw fitted with the appropriate blade. Because most sleepers are 100-200 mm thick, finish thicker pieces from the second face or by hand, then sand the cut ends (and seal them if the sleeper is softwood).
Sleepers are heavy timber beams, originally made to carry railway track and now hugely popular in the garden. Hardwood sleepers such as oak sleepers are significantly more durable than softwood sleepers, making them better suited to structural and load bearing applications. Oak sleepers are denser and heavier than softwood sleepers, which are lighter and easier to cut. This guide is written for DIYers, garden lovers and landscapers who want accurate cuts and sleepers that last, whatever the project. If you’d rather not cut them yourself, we also offer a bespoke cutting-to-size service – just reach out and we’ll quote for cutting your sleepers to size.
The sections below explain the complete process of cutting railway sleepers and garden sleepers safely: choosing the right tools, fitting the correct blade, wearing the right protective gear, laying and fixing the timber, and applying the protective finishing touches.
What Types of Sleepers Are There?
Sleepers fall into two main groups: hardwood sleepers such as oak, and softwood sleepers. Historically, UK railway sleepers were most often made from softwood such as pine or spruce, while the hardwood sleepers available today are largely imported, for example from Poland. Reclaimed sleepers are usually creosoted, though some are treated with other preservatives.
Softwood sleepers are lighter, cheaper, and easier to cut, so they are ideal for raised beds, edging and low garden features – and ours come in a wide range of sizes, finished on all four edges. Oak and other hardwood sleepers are denser and stronger, giving the added stability you want for retaining walls and structural work. Many garden lovers mix the two: oak sleepers where strength matters, softwood sleepers where budget and weight do. Both new and reclaimed railway sleepers are popular across the garden.
Check whether your railway sleepers are new or reclaimed before making any cuts. New oak sleepers are clean timber that behaves predictably. Reclaimed railway sleepers are usually creosoted, which gives off harmful fumes and must never be burned. We don’t generally recommend cutting reclaimed creosoted sleepers, but if you do, wear a P3 (or FFP3) filter mask rather than a standard dust mask, plus goggles and gloves, and work outdoors or in a very well ventilated space, since creosote is a hazardous substance and the dust is harmful to health. Reclaimed sleepers can also hide old metal spikes or grit that will damage a blade and cause kickback, so always check them with a metal detector before cutting. For a clean cut on visible garden features, new oak sleepers are the safer choice.
What Tools Do You Need to Cut Sleepers?
While you can cut railway sleepers with a circular saw, a hand saw, a reciprocating saw or a chainsaw, a circular saw remains the best all-round choice for most garden projects. Each of these has its own strengths, so choose the right tool for the job before you start cutting. Picking the right tool makes the work faster, and power tools save the most effort.
- A circular saw balances speed, control and a clean finish, which makes it the most popular of the power tools for this work. Its only real limit is depth, so for full-thickness railway sleepers you need to work from both faces and meet in the middle of the timber.
- A hand saw is the cheapest option and needs no power. A universal handsaw is well suited to softwood sleepers, which are lighter and easier to cut, but oak is far denser, so cutting it by hand is labour-intensive and time-consuming, requiring plenty of elbow grease.
- A reciprocating saw is handy for awkward, in-situ cuts, such as trimming sleepers already laid in a wall. A chainsaw is the most powerful option and slices through railway sleepers of any size in one pass, which is why it suits high-volume work; fit a sharp, new chain, because a chainsaw is genuinely dangerous in inexperienced hands and the least precise of these tools. Whichever power tool you use, inspect its cables and blades for damage before every use.
If you don’t have the right tools, or would rather not risk cutting sleepers yourself, our mill offers a professional cutting-to-size service for an additional fee.
Be aware of kickback when using a circular saw on dense hardwood – always maintain a firm two handed grip and never position your body directly behind the blade.
Which Blade Should You Use to Cut Oak Sleepers?
Fit an appropriate blade rated for the work: a tungsten carbide-tipped (TCT) circular saw blade designed for hardwood, 210-235 mm in diameter to give a useful cutting depth in each pass. Check that the blade carries the correct rating for your machine before cutting. A higher tooth count gives a cleaner finish, while a lower tooth count clears waste faster on thick oak. A worn blade will struggle, overheat and burn the timber, so factor in re-sharpening or buying a fresh blade for big jobs.
Cutting Sleepers Step by Step
When cutting sleepers, accuracy matters more than speed. The reliable method for cutting railway sleepers is to measure, mark, support, cut, and seal. Following these steps keeps your cuts square and your hands clear of danger.
- Measure and mark. Mark a straight line across all four faces using a tape measure and a straight piece of timber or offcut as a guide, and check it with a spirit level for accurate cuts. Oak is unforgiving, so measure twice before you remove even a small piece.
- Support on a stable surface. Lay the sleeper across two trestles or sturdy bearers, supporting both sides, so the offcut cannot drop and pinch the blade. Clamping a straight edge alongside the line acts as a guide fence and adds stability for a straighter run.
- Set the depth. For thinner pieces, set the blade to cut a few millimetres deeper than the timber. For full-thickness railway sleepers, set the depth to just over half the thickness and plan to cut from both faces.
- Work along the line. Move steadily along the marked line, letting the tool do the work rather than forcing it.
- Check and tidy. Confirm the cut edge is square, then sand it ready for sealing.
Cutting Through the Central Sections of Thick Sleepers
A thick sleeper rarely separates in one pass. Once you have cut as deep as the blade allows, turn the sleeper and work from the second face, so the two lines meet in the middle. Finish any stubborn fibres and make smaller adjustments by hand for a clean cut edge.
Safety Tips for Cutting Railway Sleepers
Cutting railway sleepers can be hazardous, so follow a few simple safety tips and always wear the right protective gear before you start. The key precautions are wearing protective gear, planning every cut and keeping your tools sharp.
Wear protective gear as a minimum: safety goggles, cut-resistant work gloves, ear defenders and a dust mask, plus sturdy boots. A standard dust mask is enough for new oak sleepers, since fine oak dust irritates the lungs, but for reclaimed, creosoted sleepers you need a P3 or FFP3 filter mask, as creosote fumes and dust are hazardous. Add knee pads to protect your knees when cutting at ground level, and use chainsaw trousers and a face shield if you opt for a chainsaw. Secure your railway sleepers firmly before you start, keep the cutting area clear of other people and pets, and never stand directly in line with the cut. Plan and mark each cut before you begin, because once a sleeper is cut you cannot undo it. With reclaimed sleepers, always check for hidden metal such as nails or railway spikes using a metal detector before you cut.
How to Lay Sleepers and Fix Them?
Once your railway sleepers are cut to length, lay them on a firm, level base. To lay sleepers securely, pre-drill the timber and fix the pieces with stainless steel screws. Drilling pilot holes first stops dense oak from splitting and makes the screws far easier to drive.
Retaining walls built from railway sleepers carry real load, so they need extra care. The most common method for retaining walls and boundaries is to use H-section posts, driven into the ground at intervals, with the sleepers slid in horizontally and stacked one on top of the other between them. For raised beds and flowerbeds, staggering the joints like brickwork and screwing each course to the one below with stainless steel screws works well; stainless steel resists rust outdoors and will not stain the timber, which matters because the natural tannins in oak react with ordinary steel. Whichever method you use, it gives a neat, solid frame that lasts for years.
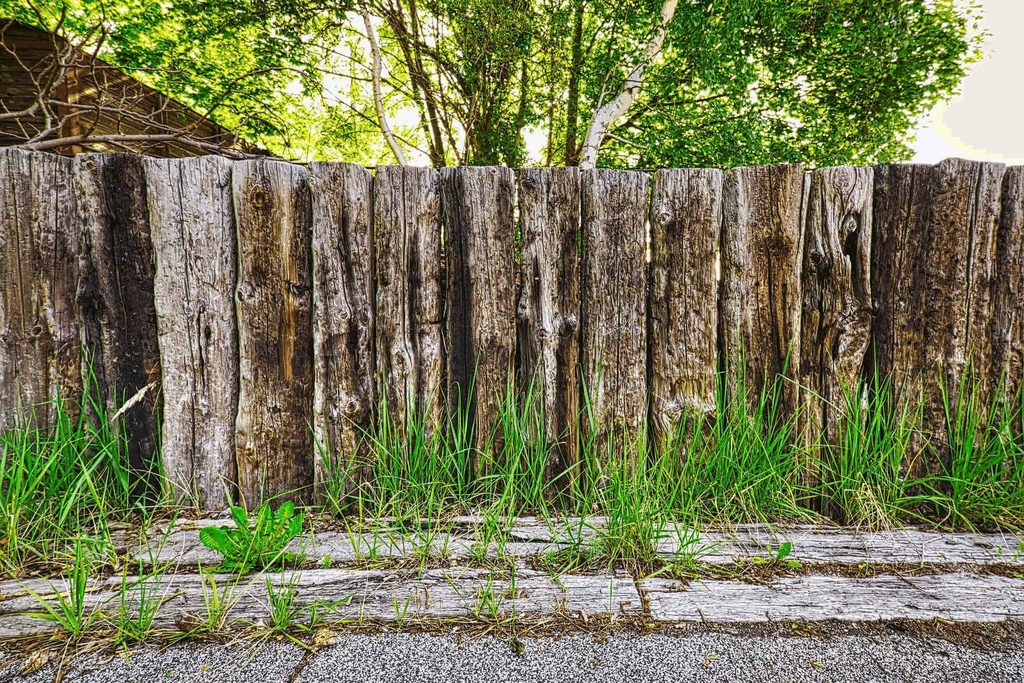
Garden Projects You Can Build With Sleepers
Sleepers are a fantastic way to transform an outdoor space, and cutting them to size opens up dozens of landscaping projects for gardens of every size.
Building Raised Beds and Garden Beds
The most popular use is building raised beds: a simple raised bed needs just four cut sleepers screwed at the corners, and the same method scales up to larger garden beds and flower beds. If you’re growing edible plants such as vegetables or herbs, never use reclaimed, creosoted sleepers – creosote can leach into the soil, is harmful, and is not permitted for garden use – so use new softwood sleepers or oak sleepers instead.
Beyond raised beds, sleepers make sturdy retaining walls, steps, edging, planters and rustic garden furniture such as benches and tables. Their chunky proportions give instant rustic appeal, which is why so many garden lovers turn to them for landscaping projects. Whether your sleeper project is a single garden border or a full redesign, sleepers deliver a durable, characterful finish that suits almost any outdoor space.
How to Finish and Protect Cut Sleeper Ends?
This applies to softwood sleepers – oak does not need treating, and neither do creosoted sleepers, though optional products exist for both if you want extra protection. For softwood, sand the cut ends and then seal them, because a freshly sawn end is rough, and the exposed end grain is the part of the sleeper most prone to soaking up water and rotting. Start with the finishing touches: sand each cut edge to remove splinters, using a belt sander to speed up smoothing on larger visible faces.
Once smooth, brush a generous coat of our End Coat end-grain preservative onto the cut ends, or apply an exterior wood oil, which also helps reduce cracking. A wood dye deepens the colour while still showing the natural grain, and the natural tannins in oak add warmth as the timber weathers. Let any treatment soak in before you set the sleeper in place. These simple steps protect the wood and significantly extend the life of softwood sleepers used outdoors.
Cutting Sleepers FAQ
Can You Cut Oak Garden Sleepers With a Hand Saw?
Yes, you can cut oak garden sleepers with a hand saw, but it is hard, time-consuming work because oak is so dense. Working by hand is fine for one or two cuts. For a larger sleeper project, a circular saw or chainsaw will be much quicker.
What Is the Best Tool to Cut Railway Sleepers?
A circular saw is the best tool for most people cutting railway sleepers, because it balances speed, control and a clean finish. A chainsaw is faster for high volumes, a reciprocating saw is best for awkward or in-situ cuts, and a handsaw is the cheapest option for the occasional cut.
What Blade Should You Use to Cut Oak Sleepers?
Use a tungsten carbide-tipped (TCT) blade rated for hardwood, around 210-235 mm in diameter. TCT teeth stay sharp far longer than standard steel when cutting dense oak sleepers, giving a cleaner finish and reducing the risk of burning.
Do You Need to Drill Pilot Holes When Fixing Sleepers?
Yes. Drill pilot holes before driving stainless steel screws, especially into oak. They stop the dense timber from splitting and make the screws far easier to drive when fixing sleepers for raised beds or retaining walls.
Do You Need to Treat the Cut Ends of Oak Sleepers?
No. Oak is naturally very resistant to moisture and rot, thanks to its high tannin content, so it doesn’t need its cut ends treated to last. Oiling with a product such as Osmo is optional – it improves the appearance and adds UV protection, but isn’t necessary for durability. New softwood is different: cutting exposes the unimpregnated interior, so you do need to protect the cut end with an end-grain preservative, since the original treatment only penetrates the outer layer. Reclaimed, creosoted sleepers don’t need extra treatment either, since the creosote already provides protection.