Small Front Garden Fencing Ideas
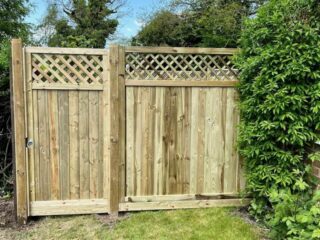
At Timberstore, we know that small front garden fencing ideas can completely transform the look and feel of a property. A well-chosen fence adds structure, privacy, and security, while improving kerb appeal and giving a welcoming first impression. The right garden fencing doesn’t just mark your boundary - it enhances your home’s design and creates an attractive, durable feature for years to come.
...