















How to lay garden sleepers


To lay garden sleepers, mark out your layout, dig a shallow trench, and bed the sleepers on a firm base of compacted sharp sand or gravel, checking each one is level with a spirit level before you secure the sleepers together with screws or pins. Laid correctly, sleepers create durable raised beds, garden edging, and retaining walls with a clean, professional finish.
Garden sleepers have become a go-to material for landscaping projects across the UK, prized for their rustic charm, durability, and versatility. This step-by-step guide explains how to lay railway sleepers and garden sleepers for raised beds, garden edging, or a retaining wall, and how to choose, prepare, and install them for a finished project that lasts. Knowing how to lay sleepers correctly is the key to an outstanding result in any outdoor space.
Choosing the Right Garden Sleepers
We supply garden sleepers in three main timber types: treated softwood, hardwood such as European oak, and reclaimed railway sleepers. Your first decision is the material, as each balances cost, lifespan, and appearance differently.
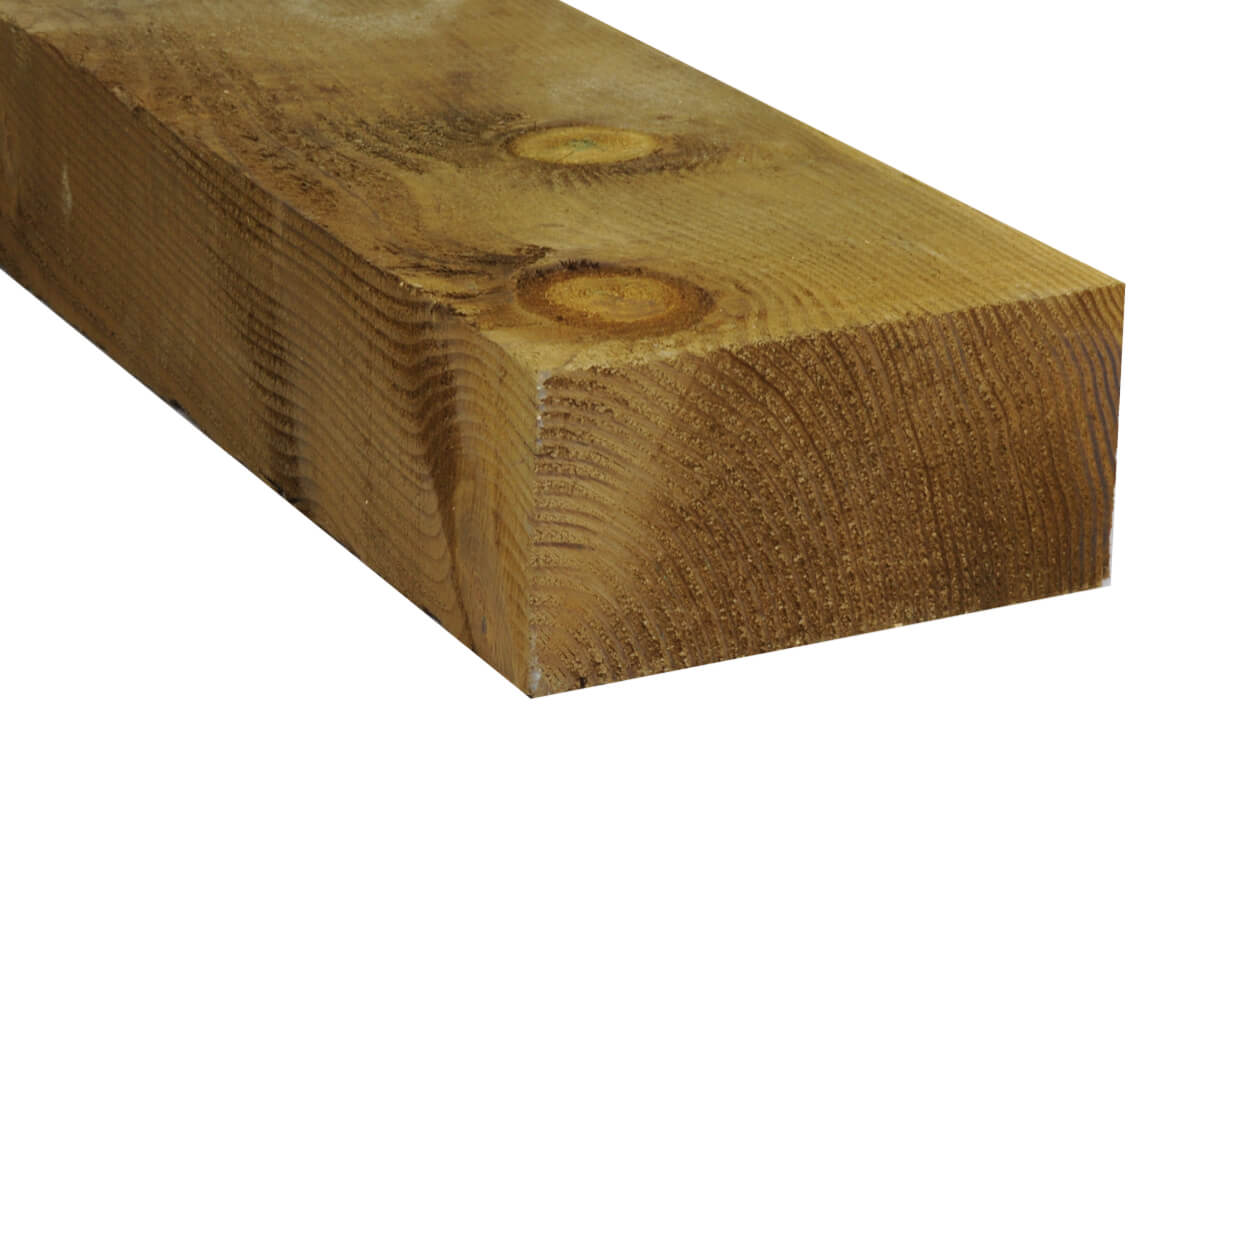
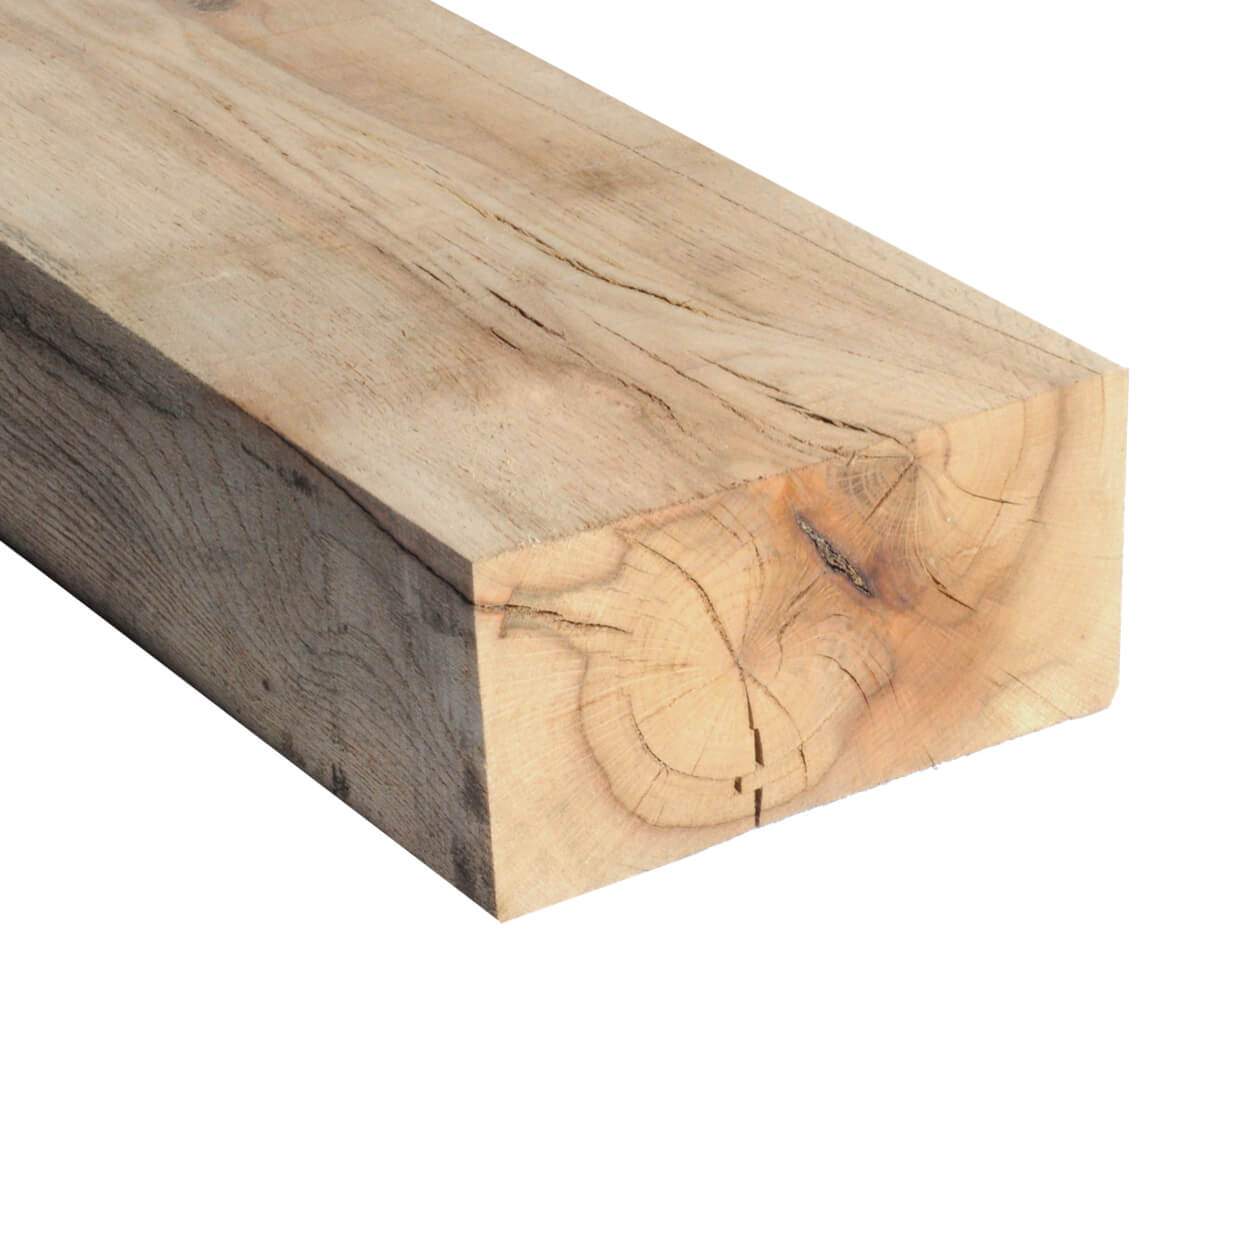
Softwood sleepers, pressure-treated for outdoor use, are affordable and easy to handle but have a less durable lifespan than hardwood. Hardwood timber sleepers, such as European oak, offer higher durability and natural pest resistance, lending a rich, natural beauty to garden beds and borders.
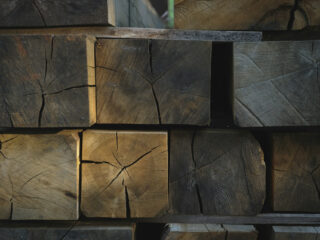
Reclaimed railway sleepers have a charm and character that’s hard to replicate with new timber – each one tells a story, and that rustic, weathered look is exactly why so many garden lovers choose them. As with any reclaimed material, it’s worth inspecting them carefully before use to make sure they are structurally sound.
It’s important to know that reclaimed sleepers are almost always treated with creosote, and under the Creosote (Prohibition on Use and Marketing) Regulations 2003, creosote-treated timber must not be used in areas where there is regular skin contact – such as play areas, garden furniture, or around food growing. Used in the right setting though – as a retaining wall, a boundary feature, garden steps, or a structural element away from regular direct contact – they are a fantastic and cost effective choice that will last for many years. If you’re unsure whether reclaimed sleepers are right for your project, just give us a call and we’ll be happy to advise.
When choosing, weigh up:
- Durability and lifespan
- Visual appeal and rustic charm
- Environmental impact and eco-friendliness
- Project budget and weight handling
As a quick comparison: softwood is the cheapest and lightest but shortest-lived; hardwood is the most durable and attractive but heavier and dearer; reclaimed sleepers are characterful and sustainable but are creosoted, so their use is legally restricted and they must be kept away from food growing, seating, and play areas.
Planning Your Garden Project: How Many Sleepers Do You Need?
Proper planning is pivotal to a successful project, so start by measuring your space carefully, whether you are building raised borders, garden edging or beds.
Timber sleepers are available in a range of lengths to suit different projects. Our softwood sleepers offer the most flexibility, available in 1.2m, 2.4m, 3.0m, and 3.6m lengths – ideal if you need to minimise cuts and reduce waste across a variety of garden layouts. Hardwood sleepers are most popular in 2.4m, which suits the majority of domestic projects, and we do sometimes stock an additional length of 1.2m. Reclaimed railway sleepers are available in ~2.6m. Planning your layout carefully around the lengths available helps keep cutting to a minimum and makes the most of every sleeper.
The number of sleepers you need depends on:
- The dimensions of your garden beds or borders
- The height, or number of layers (for example, one or two sleepers high for raised borders)
- The design shape (straight lines versus curves)
- Whether you intend to build features such as sleeper steps or a retaining wall
Using a carpenter’s pencil and a string line, mark your planned layout on the ground. Calculate the total length of material needed and add an allowance for cutting waste and overlaps. This pre-planning ensures you buy the correct volume and dimensions, avoiding last-minute shortages.
Preparing the Ground for Sleepers
- Proper ground preparation is the basis of a stable, long-lasting result, so clear and level the site before any sleepers are laid. Start by clearing vegetation, debris, and uneven ground from the area where they will sit.
- Dig a shallow trench slightly deeper than the height of your sleeper to allow for a compacted sub-base. This base is typically gravel or sharp sand to aid drainage and improve stability. You can also lay a permeable membrane beneath the sub-base to help prevent weed growth and moisture build-up.
- The goal is a firm, level, well-draining foundation that helps prevent rot and pest damage and extends the life of the timber. Use a spirit level and a tamper to compact the base evenly so the sleepers sit flush and secure.
Laying Garden Sleepers Step by Step
Once the base is prepared, lay sleepers from one end, keeping each one level and tightly jointed. The same method applies whether you lay sleepers for edging, raised beds, or a wall. Mark out your layout and dig the trench along the planned line first, so the structure sits securely and looks neat. With the area prepared, work through the steps below. You lay railway sleepers in the same way as newly bought sleepers.
- Position the first sleeper. Using a string line for alignment, place the first sleeper into the trench. Make sure it sits firmly on the compacted base and check with a spirit level that it is perfectly level.
- Lay additional sleepers. For longer runs, continue placing sleepers end to end with tight joints. If you are stacking them, for example, to build a raised border, stagger the joints like brickwork for extra strength and a better look.
- Secure corners and joints. Overlap or mitre-cut the corners and fix them with sleeper screws, brackets, or timber pegs to suit your design. Drilling pilot holes first prevents splitting; add wooden dowels for a neat, fastener-free look if you prefer.
- Keep edges neat and level. Use your string line and spirit level throughout to keep the lines clean and even, adjusting as needed before the final fixings go in.
Key considerations while laying sleepers:
- Leave a small gap between sleepers if needed for drainage or expansion
- Avoid placing sleepers directly on damp soil without a solid base
- Use heavy-duty gloves to handle the timber safely and prevent splinters
Securing Sleepers: Fixings and Fasteners
The right fixings keep your sleepers stable and durable, so choose them to suit your design and sleeper type. To secure sleepers well, consider:
- Long landscaping screws or sleeper screws for connecting horizontal layers
- Steel threaded bars driven vertically through the sleepers and into the ground for anchoring and extra support
- Angle brackets, corner braces, sleeper pins, and joining plates to reinforce joints, especially in raised beds and a retaining wall
Drill pilot holes with an auger-bit drill to prevent the timber from splitting when you insert screws or pins, and use metal plates to add support at vulnerable points. Long screws and metal plates give the structure added strength, and you should always use rust-resistant fixings such as stainless steel or galvanised outdoors – this matters particularly with oak, whose natural tannins corrode and stain ordinary steel.
Cutting and Joining Sleepers
You will often need to cut sleepers to length and join them to fit your design, and the right tools make this safe and accurate. For detailed cutting techniques, refer to our guide on cutting sleepers. Softwood sleepers cut easily with standard power tools, while dense hardwoods such as oak may need a more powerful saw. Always wear personal protective equipment, including safety goggles, gloves, and a dust mask. Reclaimed, creosoted sleepers give off harmful dust and fumes when cut, so wear a P3 or FFP3 filter mask and work outdoors or in a very well ventilated space – and remember their use is not permitted in gardens where regular skin contact is likely.
After cutting, sand the rough edges. For softwood, coat the freshly cut ends with an end-grain preservative, because a freshly sawn softwood end will soak up water and rot if left untreated – the original pressure treatment only penetrates the outer layer. Oak and other hardwoods are naturally durable and don’t need their cut ends treated, though an exterior wood oil is an option for appearance. Join sleepers with overlapping corners or flat joining plates, strengthened with sleeper pins or galvanised screws.
Building Raised Beds and Planters With Sleepers
Raised beds improve drainage and soil quality and make gardening easier on your back. To build them with sleepers:
- Assemble the timber frame to your chosen dimensions
- Secure the joints with angle brackets, corner braces, and pins
- Line the inside with a membrane to protect the wood from moist soil
- Fill with a mix of topsoil, organic compost, and bedding mix
- Mulch with bark chippings to retain water
Raised beds can be one or two sleepers high, depending on the soil depth your flowers, vegetables, or soft fruit need. Add a drainage layer of coarse gravel beneath the soil to prevent waterlogging and protect the timber. If you are growing edible crops, use new softwood or oak sleepers – never reclaimed, creosoted ones, as creosote can leach into the soil and is not permitted around food growing.
Creating Garden Sleeper Edging and Borders
Sleepers make excellent garden edging for lawns, flower beds, and pathways, creating defined boundaries that add structure and visual appeal. For sleeper edging:
- Mark the perimeter precisely with a taut string
- Lay the timber flat, horizontally or vertically, depending on your design
- Secure each piece with wooden stakes or pegs and steel pins for extra support, spacing the stakes about every metre
- Combine with shingle infill or decorative stones for a better look and drainage
Popular features include sleeper steps, curved borders, and vertical sleepers laid for privacy screens or a retaining wall. Sleeper edging is a quick, low-cost landscaping project, and neat edging laid along a path is one of the fastest ways to lift any garden or outdoor area.
Finishing Touches: Wood Preservative, Stain, and Maintenance
After your sleepers are laid, protect and maintain the wood for longevity and appearance. On softwood, apply a quality wood preservative or stain once the timber has dried out fully; this helps protect against moisture, UV, and fungal growth. Oak and other hardwoods don’t need preserving to last, but an exterior oil keeps their colour and reduces cracking. Regular maintenance, such as reapplying treatment every couple of years and checking the timber is in good condition, keeps the finished project sturdy and attractive for years.
Should I Paint My Garden Sleepers?
You can paint or stain treated softwood, but only once it has dried out fully, usually a few months after installation. Use a breathable, exterior-grade paint or stain and clean the surface beforehand for the best finish.
Hardwood sleepers are best maintained with a UV-protective oil, which keeps their natural look and reduces cracking. Paint does not bond well to dense, oily timber and tends to peel, so it is best avoided.
Environmental Considerations
Choosing the right sleeper is not just about looks and durability; environmental impact matters more and more to UK gardeners.
- Reclaimed railway sleepers repurpose existing materials and reduce demand for new timber, but they are almost always creosoted, which poses environmental and health risks and restricts where they can legally be used. Handle and dispose of them accordingly.
- Responsibly sourced timber offers a balance between longevity and sustainability. Softwood is more affordable and lighter but, unless properly treated, has a shorter lifespan. Hardwood is more durable but uses more resources and land to produce, which can affect biodiversity.
- Disposal regulations: In the UK, certain treated timber, especially older creosoted railway sleepers, is classified as hazardous waste and must be disposed of at authorised facilities. Always check local guidance for safe disposal or recycling, and if in doubt, contact your local council or a licensed timber recycling facility.
Safety Tips and Best Practices
Handle heavy sleepers carefully to avoid injury and protect the finished structure. Wear gloves to guard your hands from splinters and cuts, use safety goggles and a dust mask when cutting timber (a P3 or FFP3 mask for reclaimed, creosoted sleepers), and use teamwork or mechanical help to move large pieces. Make sure the sleepers are firmly fixed to prevent movement over time, especially in vertical features such as a retaining wall or privacy screen, where stability matters most.
Before installation, store sleepers raised off the ground and covered, protecting them from unnecessary moisture absorption and pest damage.
Garden Sleepers FAQ
How Do You Prepare the Ground for Garden Sleepers?
Clear the area of vegetation and debris, then dig a shallow trench slightly deeper than the height of your sleepers. Fill it with compacted gravel or sharp sand for drainage and stability, ideally over a permeable membrane to suppress weeds. Level and tamp the base so the sleepers sit flush and secure.
How Deep Should Sleepers Be Laid, and Do They Need Foundations?
For low garden edging and raised beds, sleepers do not need deep foundations; a compacted sub-base of around 50 to 100 mm is enough, and they can simply be positioned just below the surface so they sit level. Taller retaining walls and vertical sleepers need firmer anchoring, such as setting posts or threaded bars into a concrete base for addstability.
Do You Need a Gravel Base Under Sleepers?
A gravel or sharp-sand base is strongly recommended. It provides drainage that protects the timber and keeps water away from it, reduces the risk of rot, and gives a firm, level footing so the sleepers do not sink or shift once they are laid.
How Long Do Sleepers Last?
The lifespan of garden sleepers depends on several factors including the timber type, quality of treatment, drainage, and how well they are maintained over time. Hardwood sleepers such as oak are naturally far more durable than treated softwood sleepers, thanks to their density and high tannin content, making them the better choice for structural or long term features. Treated softwood sleepers perform well when properly installed on a good draining base and maintained regularly – reapplying preservative to cut ends and keeping the base clear of standing water makes a significant difference to how long they last. Whichever timber you choose, good ground preparation and regular maintenance are the biggest factors in getting the most out of your sleepers.