
















How to Fit Feather-edge Fence Boards?

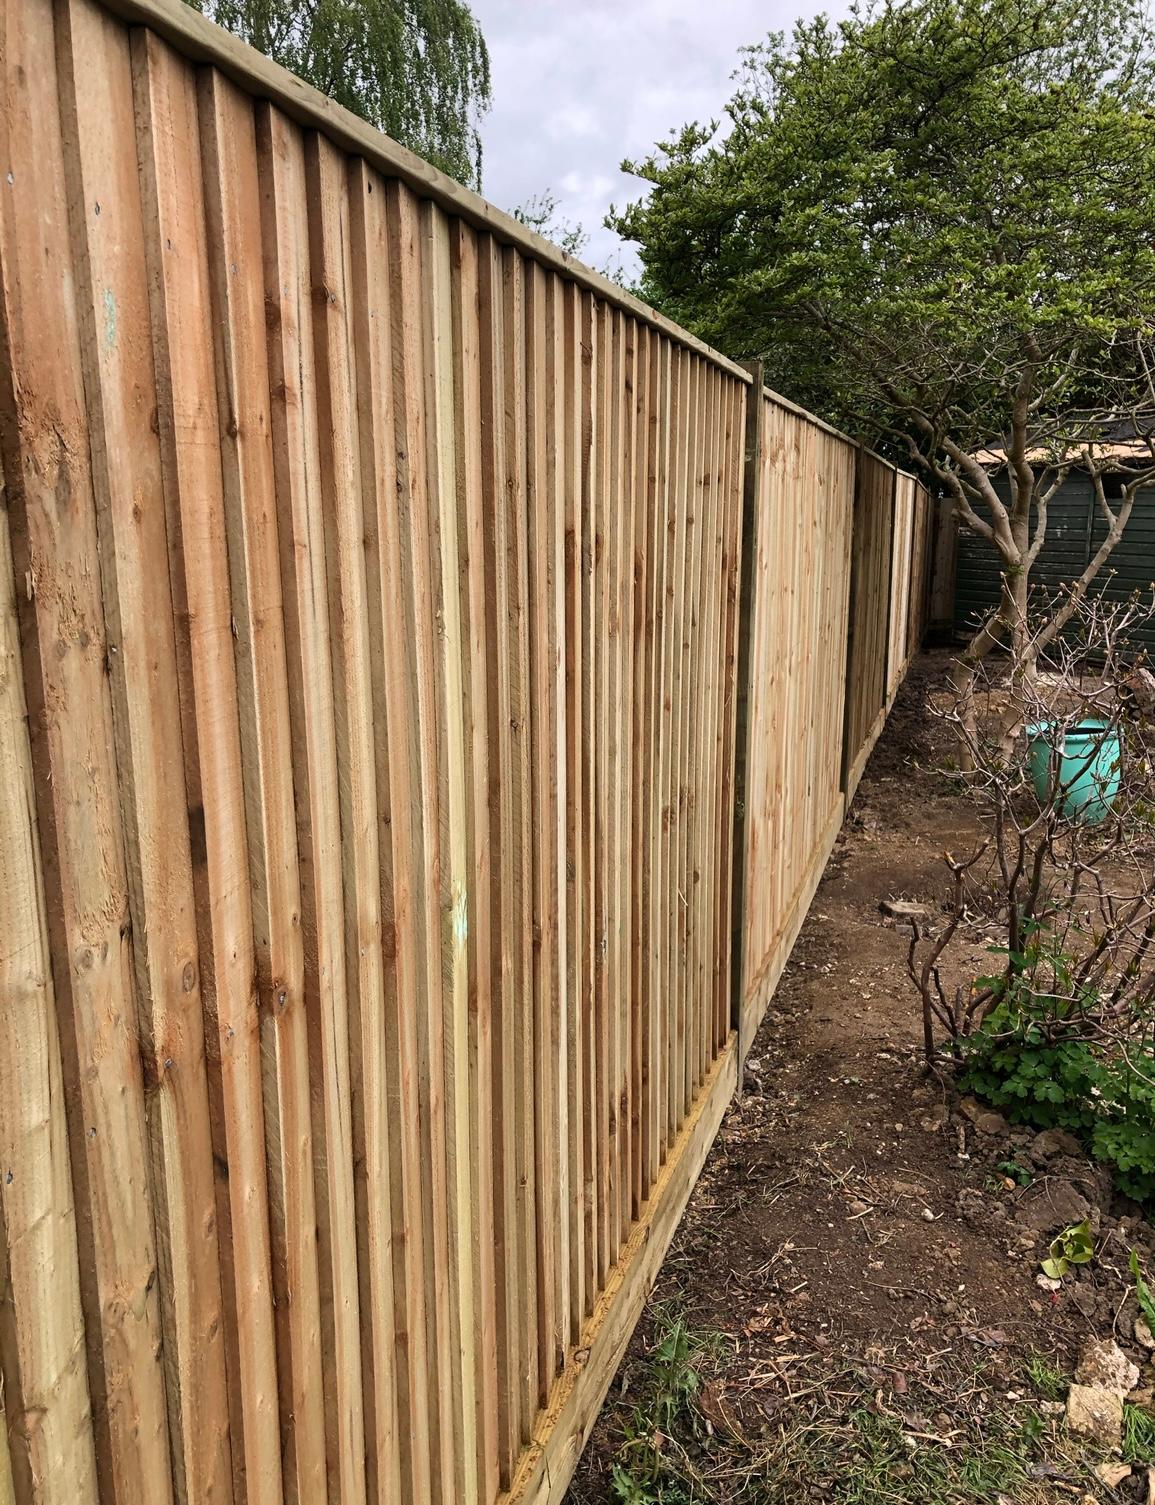
To fit featheredge boards, nail them vertically to the arris rails for closeboard fencing (150 mm boards can also be fixed horizontally as cladding; 200 mm boards are used for cladding only), overlapping each one by about 25 mm and securing them with a 50 mm galvanised nail per rail – so 2 arris rails need 2 nails per board, 3 rails need 3, and 4 rails need 4. Work along the fence from the first post, check every board is plumb with a spirit level, and set the boards on a gravel board so they stay clear of the ground.
This guide walks through fitting featheredge boards from start to finish. A featheredge fence, also called closeboard, is one of the most popular, affordable, and durable fences in the UK, which is why so many homeowners build one themselves. You can order every component from our website.
Why Use Featheredge Boards? 5 Key Benefits
A featheredge fence gives you privacy, security, and durability at a sensible price, which is why it is one of the UK’s most popular solid timber boundaries. The five benefits below explain the appeal.
- Durability. Made from pressure-treated wood, the boards significantly reduce the risk of rot, decay, and insect attack and shrug off the elements, from strong wind to heavy snow. A well-built featheredge fence is one of the most durable timber boundary options available, which is the main reason so many people choose it
- Privacy and security. Because each board overlaps the next with no gaps, the fence blocks the view completely and is difficult to climb, which adds real security.
- A natural look. Featheredge wood has a warm, traditional appearance that suits gardens and period homes and lifts a property’s kerb appeal.
- Affordable. This is one of the most popular ways to create a solid boundary, and you buy only the materials you need.
- Easy to repair. You can replace a single damaged board without dismantling a panel, which keeps a featheredge fence neat for decades.
Planning Your Featheredge Fence
Good planning decides how smoothly the project runs. Before you begin, decide on the intended height and length of the fence, then measure the boundary so you can order the right materials.
Fences are usually built to head height, and 6 ft (1.83 m) is the most popular choice. Featheredge boards for fencing come in a range of lengths – commonly from around 0.9 m up to 2.4m and even 3.6m in wider widths – so there is plenty of choice for other heights too; for example, a 1.65 m featheredge board plus a 150 mm gravel board gives a 1.8 m finish height. Once you have decided on the height and marked out the run, you can count the boards and posts you need – our fencing calculator is built specifically for closeboard fencing with featheredge boards and makes this quick to work out. Planning the materials in advance, ideally ordering them together from one website, prevents delays during construction. It’s essential to get the posts straight and plumb from the start, since this can’t easily be corrected once construction is underway.
Tools and Materials You Need
Gather every tool and all the materials before you begin, so the project runs without improvised workarounds. For a typical featheredge fence, you will need:
- 100 mm, 125 mm, and 150 mm featheredge boards (125 mm is the most popular, with the widest range of lengths); arris rails; 5″ x 4″ (125 x 100 mm) v-notched or morticed timber fence posts, also available in concrete; gravel boards in timber or concrete (a centre stump is recommended on wider bays to support the gravel board and lowest arris rail); capping rails; and post caps
- Post Fix (S01) postcrete, or a traditional cement and ballast mix, for setting the posts (about 1.5 to 3 bags per hole, depending on ground conditions)
- A tape measure, string line, spirit level, and pencil
- A post-hole digger or spade for digging the holes
- A hammer or nail gun, plus 50 mm galvanised nails (jagged, standard, or gas-gun collated)
- A handsaw or circular saw, timber preservative, and end-grain preservative (end coat) for anything cut to size, plus safety gear
These are the core tools and materials. Lay the tools out and check the nails, hammer, and pencil before you start digging the post holes for the fence.
How to Fit Featheredge Boards Step by Step
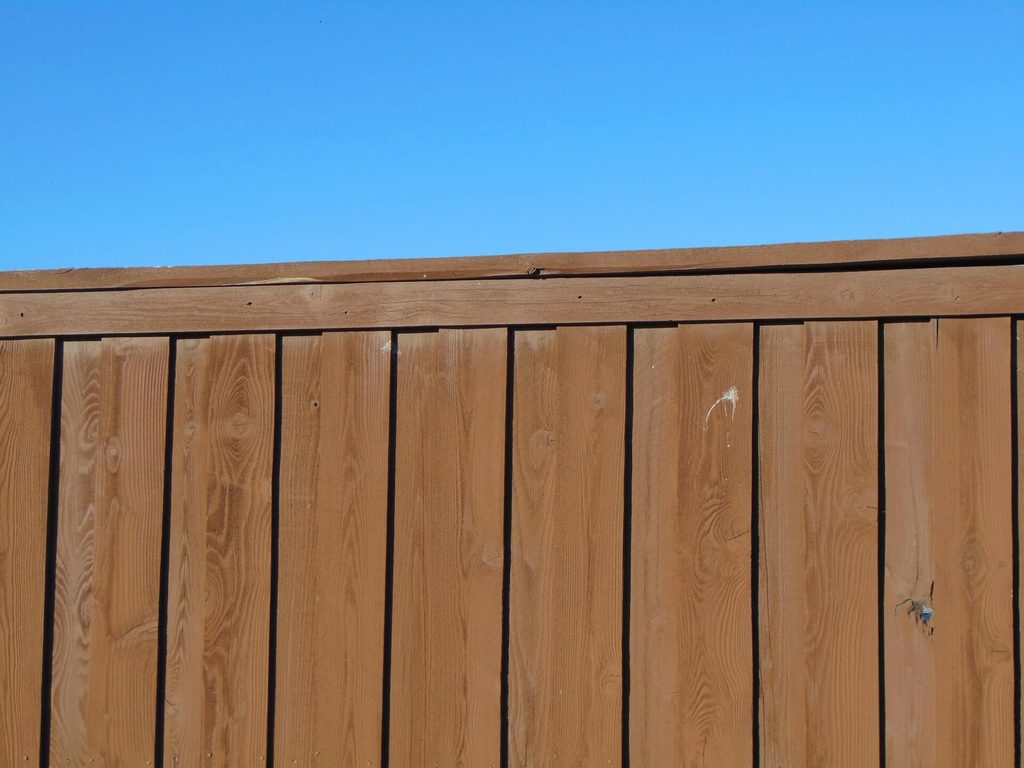
Set the posts and rails first, then attach the boards from one end, with a minimum 25 mm overlap. Follow these steps to install a neat, stable featheredge fence.
- Mark out the line. Run a string line along the boundary to mark a straight edge at ground level, then set out the post positions at 3 m centres – our standard bay spacing for closeboard fencing, which our fencing calculator is based on. Shorter or longer bays are possible, but 3 m is the norm and the components are readily available at this spacing: arris rails come in 2.4 m, 3 m, and 3.6 m lengths.
- Dig the post holes. Dig the post holes at least 600 mm deep for stability. Deep, evenly spaced holes give the fence posts a firm footing, and a post-hole digger makes digging the holes far easier than a spade.
- Anchor the posts. Stand the first post against the line, then anchor it with Post Fix (S01), or a traditional cement and ballast mix (the quantity depends on ground conditions), and fill around it. Use 8 ft (2.4 m) posts for a 6 ft (1.83 m) fence, leaving about 600 mm below ground to keep it firm. A spirit level verifies each post is plumb before the concrete sets. Repeat for the second post and along the run. On a concrete or steel surface where you cannot dig, anchor the fence posts to bolt-down bases, and add post caps to protect the post tops (post caps are suitable for timber or Durapost posts only, not concrete posts).
- Fit the arris rails. Fix the arris rails between the posts: use two rails for a fence up to about 1.2 m high, three rails up to about 1.95 m, and four rails for taller fences. V-notched posts are the most popular option, since the arris rail naturally sits into the V for a continuous look; morticed posts (available in timber or concrete) are used with shaped-end arris rails, and standard posts with brackets are also an option.
- Add a gravel board. Fix a gravel board along the base. This keeps the wood off damp ground and acts as the first line of defence against damp and rot at the base of the fence, and it can be replaced without dismantling the rest of the fence – a concrete gravel board is especially recommended for longevity.
- Cut and treat the timber. Cut to length and apply preservative now, paying particular attention to end-grain preservative or end coat on anything cut to size. Treating before you attach anything protects the boards from the elements and is far easier than painting a finished fence.
- Attach the first board. Position the first board against the post, check it is plumb and vertical, and drive one nail into each rail about 20 mm in from the thick edge. Keep the nail heads flush with the wood’s surface, so water runs off without catching.
- Secure the rest. Position each new board so its thick edge overlaps the previous thin edge by at least 25 mm – featheredge is a natural material that shrinks in the sun and expands in damp conditions, so too small an overlap can leave gaps as the wood shrinks, which is why 25 mm is a safe minimum – then secure it with a single nail per rail through the thick edge only. A spacer block or template keeps the overlap consistent and the bottom edge straight. Fix one nail per rail and space the boards evenly, but never nail through both boards: a single fixing lets the wood move with changing weather without splitting or warping.
- Cap it off. Attach the capping rails and post caps (timber or Durapost posts only, not concrete) along the top to protect the end grain and give a neat finish.
How Many Featheredge Boards Do You Need?
To work out how many featheredge boards you need, divide the total fence length by the effective coverage of each board – that is the board width minus the overlap. As a quick formula:
| Total metres ÷ coverage per board = number of boards, always round up quantity required. |
For example:
- 100mm board with a 25mm overlap covers 75mm (0.075m) per board, so a standard 3m bay needs approximately 40 boards
- 125mm board with a 25mm overlap covers 100mm (0.1m) per board, so a 3m bay needs 30 boards
- 150mm board with a 25mm overlap covers 125mm (0.125m) per board, so a 3m bay needs approximately 24 boards
Our fencing calculator works this out automatically and is based on 100mm boards as standard. If you are using a different board width or would like help calculating your exact requirements, just get in touch and we’ll help you work it out.
Key Tips for a Successful Installation
A well-built closeboard fence starts with correct post installation – straight, plumb posts set at the right depth are the foundation that everything else depends on. Get these right, and the new fence will stay solid and weatherproof for years.
1. Choose the Right Time to Build
Build in dry, settled weather so the concrete cures and the treatment dries. Constructing a fence in poor weather jeopardises the structure: boards installed soaking wet shrink and open gaps, and changing conditions during construction can shift an unset post.
2. Measure Precisely
Almost every task depends on careful work and accuracy. A tape measure keeps the run true, and a spirit level verifies every post is plumb. Improvising leads to uneven, unstable fencing that will not withstand British weather.
3. Start at the First Post
Always fit the first board against the first post, then work along the run to the next post. Starting there keeps the fence plumb and the spacing even, and stops small errors from building up along the run.
4. Add Capping Rails and Gravel Boards
The boards do not make a complete fence alone. Capping rails along the top of a featheredge fence, plus post caps (timber or Durapost only), shield the wood from rain, while a gravel board keeps the base off the ground. Together, these additions protect the fence and add years of extra life.
Featheredge Fence FAQ
Should You Nail or Screw Featheredge Boards?
Nails are the standard fixing for featheredge boards – most installers use a hammer or a gas gun, which is common among professionals for speed. Screws are rarely used for featheredge, since they hold firmly but are more likely to split the timber if used carelessly. Fix one nail per arris rail per board – so a fence with three rails uses three nails per board, not just one.
What Are the Best Fixings for Featheredge Boards?
The best fixings are 50 mm galvanised nails. The jagged shank grips far better than smooth nails, and galvanised nails resist the rust that would otherwise stain the wood in the UK’s damp climate. Jagged, standard, and gas-gun collated nails are all available. If you do use screws (less common for featheredge), choose stainless steel screws and drill pilot holes to avoid splitting the timber.
Which Way Up Do Featheredge Boards Go?
Featheredge boards are fitted vertically, with the thick edge of each board sitting over the thin edge of the one before. There is no fixed top or bottom along the length; just keep the smooth face pointing to the side you want on show and the thick edge facing the way you work along the run.
Do Featheredge Boards Need a Gap?
No. The 25 mm overlap removes any gap while still letting the wood expand and contract, so the fence stays private with no visible gaps. Just make sure to keep the boards clear of the soil by sitting them on a gravel board at the base.
How Much Should Featheredge Boards Overlap?
Overlap each board by about 25 mm. This hides the thin edge behind the thick edge of the next, leaves no gaps, and gives the timber room to move.
Does a Featheredge Fence Need Gravel Boards?
A gravel board is strongly recommended. It keeps the boards off wet soil, where rot starts, and being closest to the ground, it may be the first part to need replacing – without having to disturb the rest of the fence – so it protects the more expensive wood above it. A concrete gravel board is especially recommended for long-term durability. Many homeowners fit one as standard.
How Many Arris Rails Do You Need?
Use two arris rails for a fence up to 1.2 m high, three for fences up to about 1.95 m, and four for taller fences.
What Are Notched Posts?
V-notched posts are the most popular option, since the arris rail fits naturally into the V for a continuous look. Morticed posts are available in timber or concrete and are used with shaped-end arris rails. Standard posts with brackets are a great option for DIY installs and repairs.
How Far Apart Should Fence Posts Be?
Set the fence posts at 3 m centres, the standard spacing for closeboard fencing, since the components are supplied to suit this bay. Arris rails come in 2.4 m, 3 m, and 3.6 m for standard and non-standard bays, and our mill can also cut components to size. For a 6 ft (1.83 m) high fence, use 8 ft (2.4 m) posts with about 600 mm below ground; for taller fences, sink roughly one third of the post’s length below ground (deeper on soft ground).
How Do You Maintain a Featheredge Fence?
Reapply preservative, whether a chemical treatment or ordinary fence paint, every two to three years, clear soil from the base, and replace any board at the first sign of rot or warping. A quick yearly check of the fence posts, rails, and nails, from ground level to the head of each post, keeps everything solid for decades.
Can You Install a Featheredge Fence Yourself?
Yes. Plenty of DIYers install a featheredge fence themselves over a weekend, and with the posts plumb and well anchored in concrete, fitting the boards is straightforward with a hammer and a handful of nails. For larger runs, difficult ground, or anything more complex, it’s worth considering a professional landscaper.